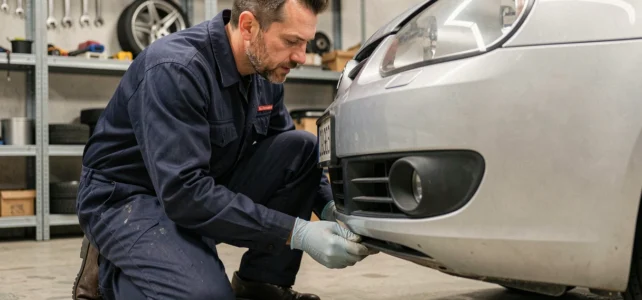
On a Golf 6, the front bumper is regularly removed to access the headlights, replace a cracked grille, or change a fog light. The operation is manageable with common tools, but it has some pitfalls depending on the vehicle’s equipment: headlight washers, parking sensors, or radar control modify the workflow.
Check the equipment of the Golf 6 before touching a screw
The way to remove a Golf 6 bumper varies depending on the trim. A model equipped with headlight washers includes nozzles and pressurized hoses behind the part. A version with parking sensors adds electrical connectors that must be unplugged before pulling the bumper towards you.
The reflex to adopt: open the hood, visually locate the connectors on the upper side of the bumper, then lie under the car to identify any hoses. Identifying each connector before removal prevents cable tearing, a common breakage on this model.
For those looking for a detailed step-by-step guide, you can remove the bumper from a Golf 6 by following a three-step procedure that covers the most common variants.
Tools and front bumper fixings for Golf 6
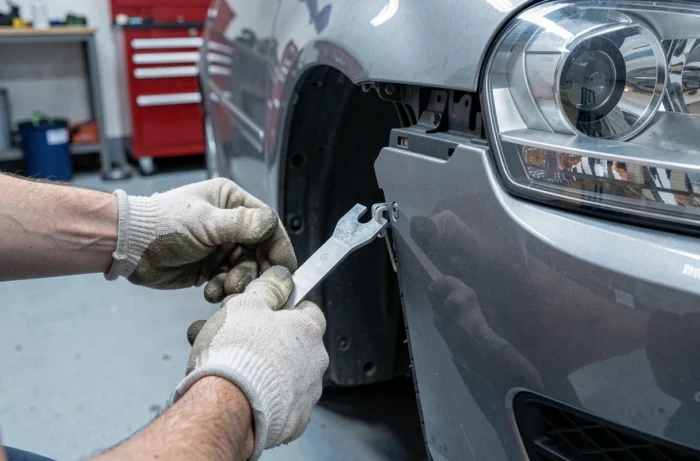
The tools are simple, but you need to have the right bits. On the Golf 6, the fixings combine Torx screws, Phillips screws, and pin clips. Here’s what you prepare before starting:
- A socket set with Torx bits (T25 and T30 depending on the fixing points)
- A medium-sized Phillips screwdriver for the grille and wheel arch screws
- A plastic clip removal tool (or a small flat screwdriver, but the risk of breaking the clips increases)
- A blanket or cardboard placed on the ground in front of the vehicle to lay the bumper on without scratching the paint
The point that many tutorials gloss over: the fixings hidden behind the wheel arches. On each side, a screw (sometimes two) anchors the bumper to the fender. If you don’t remove them, the bumper seems stuck and you force it, which deforms the fixing tabs.
Sequence for removing the front bumper: order and precautions
The order of disassembly matters. You always start from the top, then the sides, and finally the bottom. Working out of order creates mechanical stress on the remaining clips.
Upper part and grille
With the hood open and secured, unscrew the screws aligned above the grille. On most Golf 6 models, there is a series of Phillips screws that hold the upper grille. Once these screws are removed, the grille unclips forward by gently pulling from the center. Removing the grille first gives access to the upper screws of the bumper, otherwise inaccessible.
Wheel arches and side fixings
Turn the wheels (left then right) to clear access to the wheel arches. Each side has screws and clips in the inner splash guard. This is where the famous “invisible” fixings are located: one screw on the fender side blocks the bumper if you haven’t spotted it.
Feedback varies on this point depending on the model year, with some versions having an additional clip at the bottom of the wheel arch. If in doubt, running your hand along the edge of the bumper allows you to feel a residual catch point.
Lower part and final removal
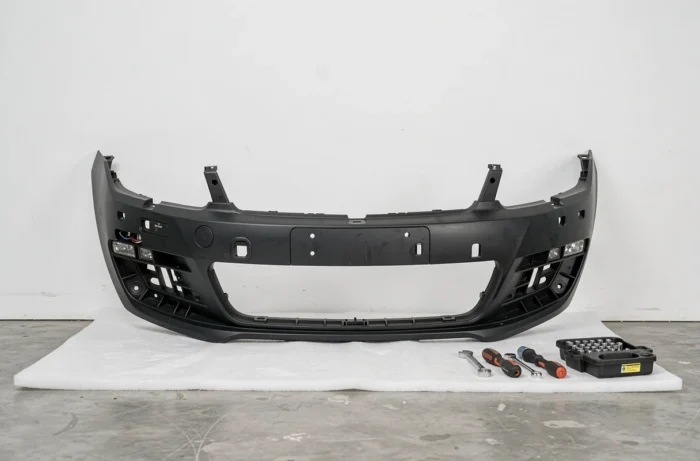
Under the vehicle, remove the pins and screws that fix the bottom of the bumper to the support. Once all the fixings are removed, the bumper is only held in place by the lateral guides.
Now is the time to unplug the electrical connectors. Identify each plug (fog lights, parking sensors if present) and press the locking tab before pulling. For vehicles equipped with headlight washers, also disconnect the hoses by pinching the quick connector.
The bumper is removed by pulling it horizontally forward, without sudden vertical movement. It takes two people for this step: the bumper of a Golf 6 is bulky, and twisting can break a tab.
Reassembling the Golf 6 bumper: alignment and body gaps
The reassembly follows the reverse order, but with an additional requirement: checking the gaps. A poorly repositioned bumper creates a visible offset between the hood line and the top of the shield, or uneven spacing between the bumper and the fenders.
- Position the bumper on the lateral guides before clipping anything to check the overall alignment
- Reconnect all electrical harnesses and hoses before pressing the bumper against the body
- Tighten the screws gradually, alternating left and right, to distribute the tension evenly
- Check the body gaps at the end of assembly: the space between the bumper and each fender should be symmetrical
A detail often overlooked: the plastic clips. If some broke during removal, replace them before reassembling. A bumper held by screws but without its clips vibrates at high speed and eventually deforms.
Removing the front bumper of a Golf 6 remains a task that can be done in less than an hour when you know the exact location of each fixing. The main trap is not the technical difficulty, but forgetting a hidden screw or an unplugged connector that turns a simple operation into an expensive repair.